Solo developer of Spiral Fantasy
Perfecting Unity’s Billboard Shader for 2D Characters – Part 2
Written by Thomas David Walker (TW0)
Bringing a Visual Effect to Life
In a visual effect, one of the most important aspects to get right is the lighting. This is what makes it feel like it belongs in the scene. Even for something as abstract as a 2D character in a 3D world, every detail matters. You will notice if they don’t cast a shadow, if they don’t reflect in puddles and mirrors, or if they just don’t match the colour palette.
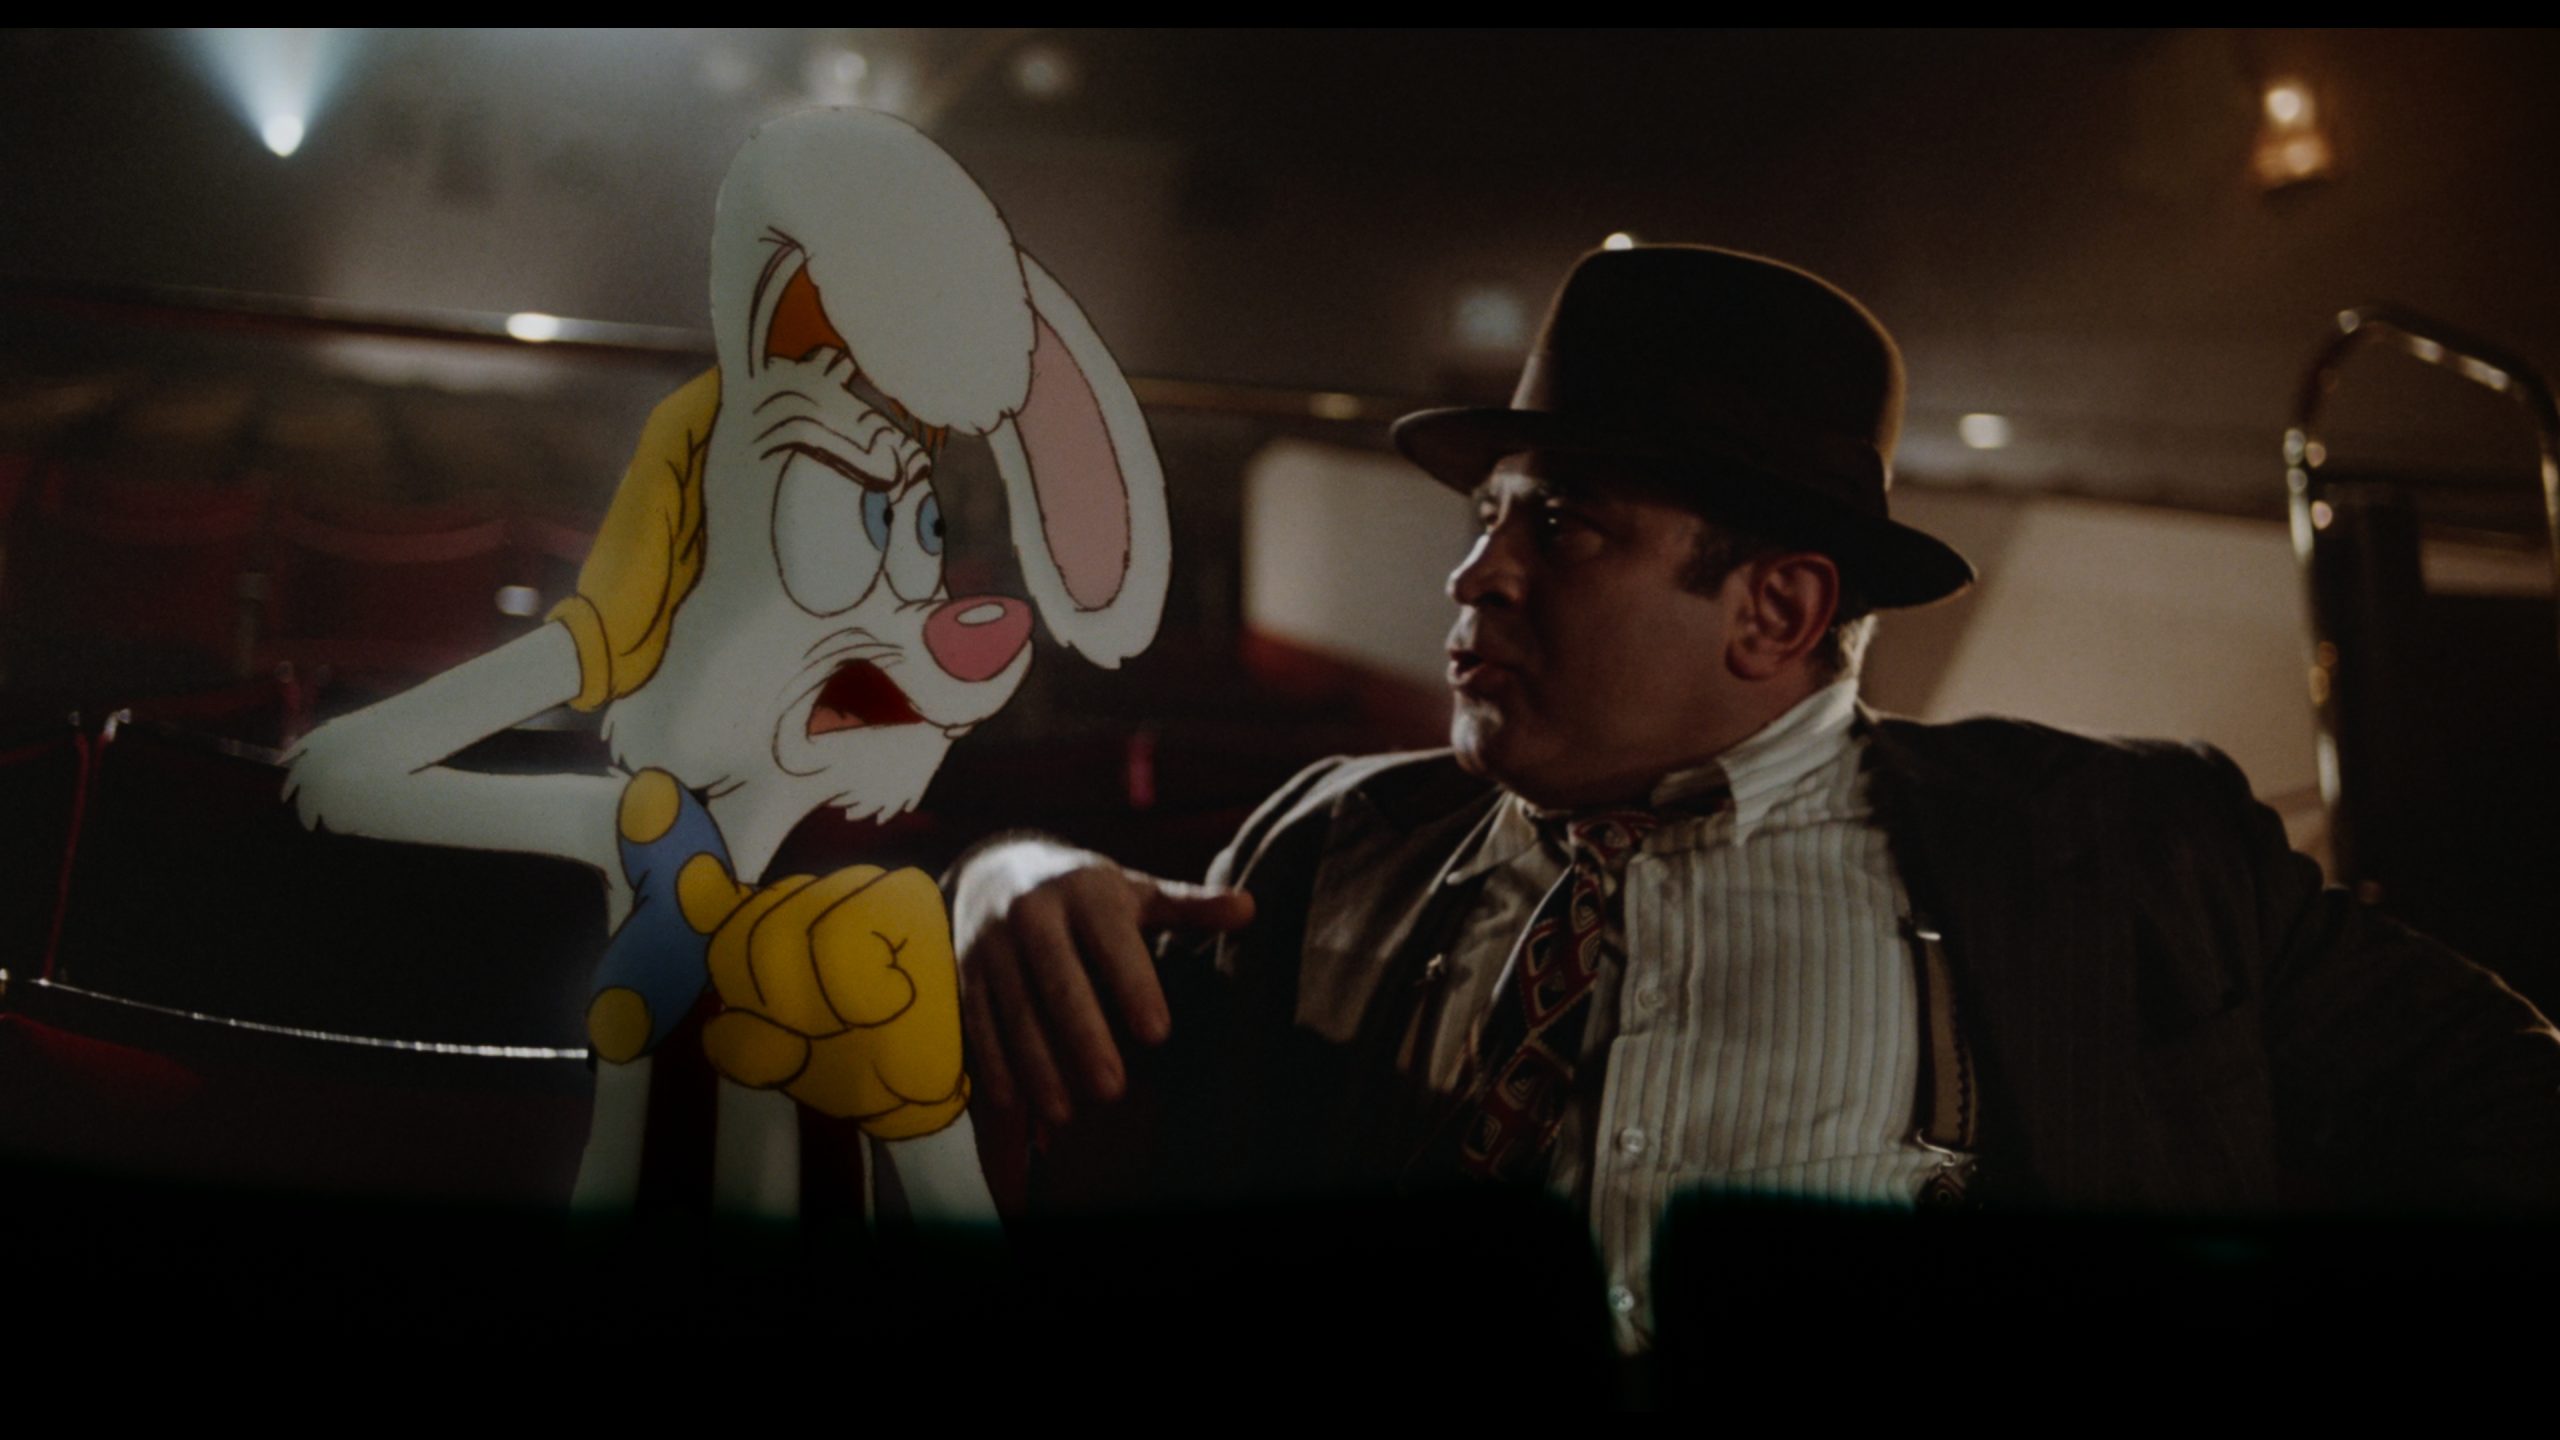 Who Framed Roger Rabbit (Touchstone Pictures) (screenshot by DoBlu.com)
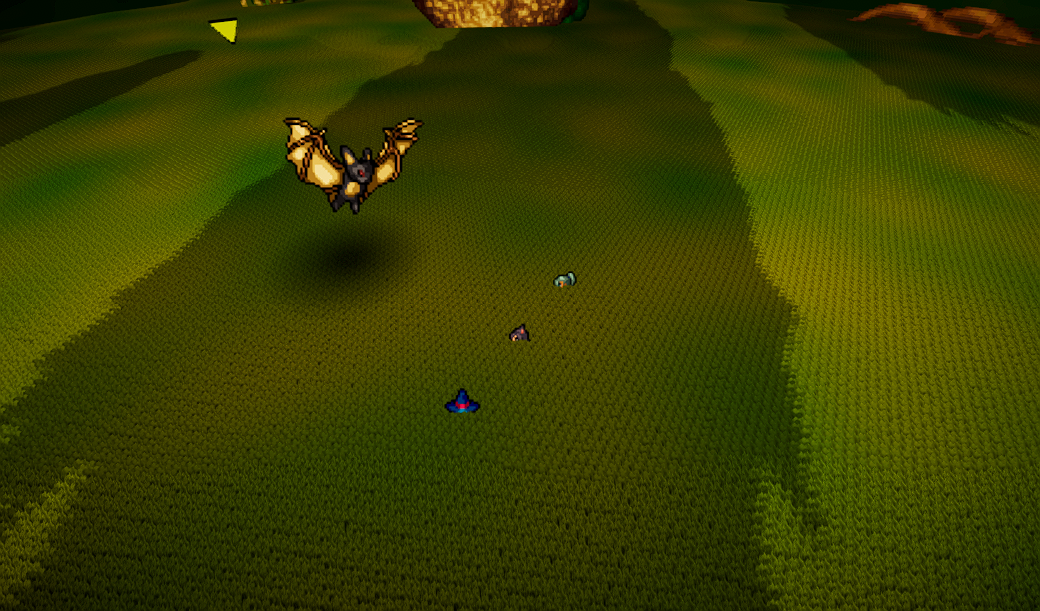
The art of compositing was just as important to games in the 90’s as in films, when games were at their most reliant on mixed media to push the boundaries of graphics. Digitised actors became the stars of cinematic adventures and fighting games, giving us the appearance of playing as a real person for the first time, although often without the level of control we had come to expect. Games starring 3D characters on 2D pre-rendered backgrounds soon followed, with games like Final Fantasy VII and Grim Fandango allowing us to explore incredible worlds, albeit from fixed camera angles.
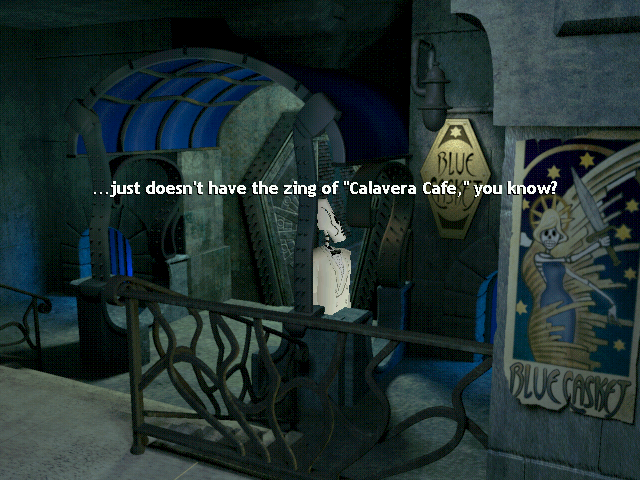 Grim Fandango (LucasArts) (screenshot by Luisfe)
While those cinematic games are often unfavourably criticised for having clashing art styles, 2D games from the previous generations had almost no problems with maintaining consistency, as the sprite-based hardware required that all of the artwork used the same resolution and colour palette. As modern hardware does not have these same limitations, developers must enforce these restrictions on themselves if they want the art style to be authentic. Both the artists and game designers must agree to avoid scaling or rotating the artwork unless absolutely necessary, which also requires the artists to know exactly how large an object or UI element will need to be before drawing the first pixel.
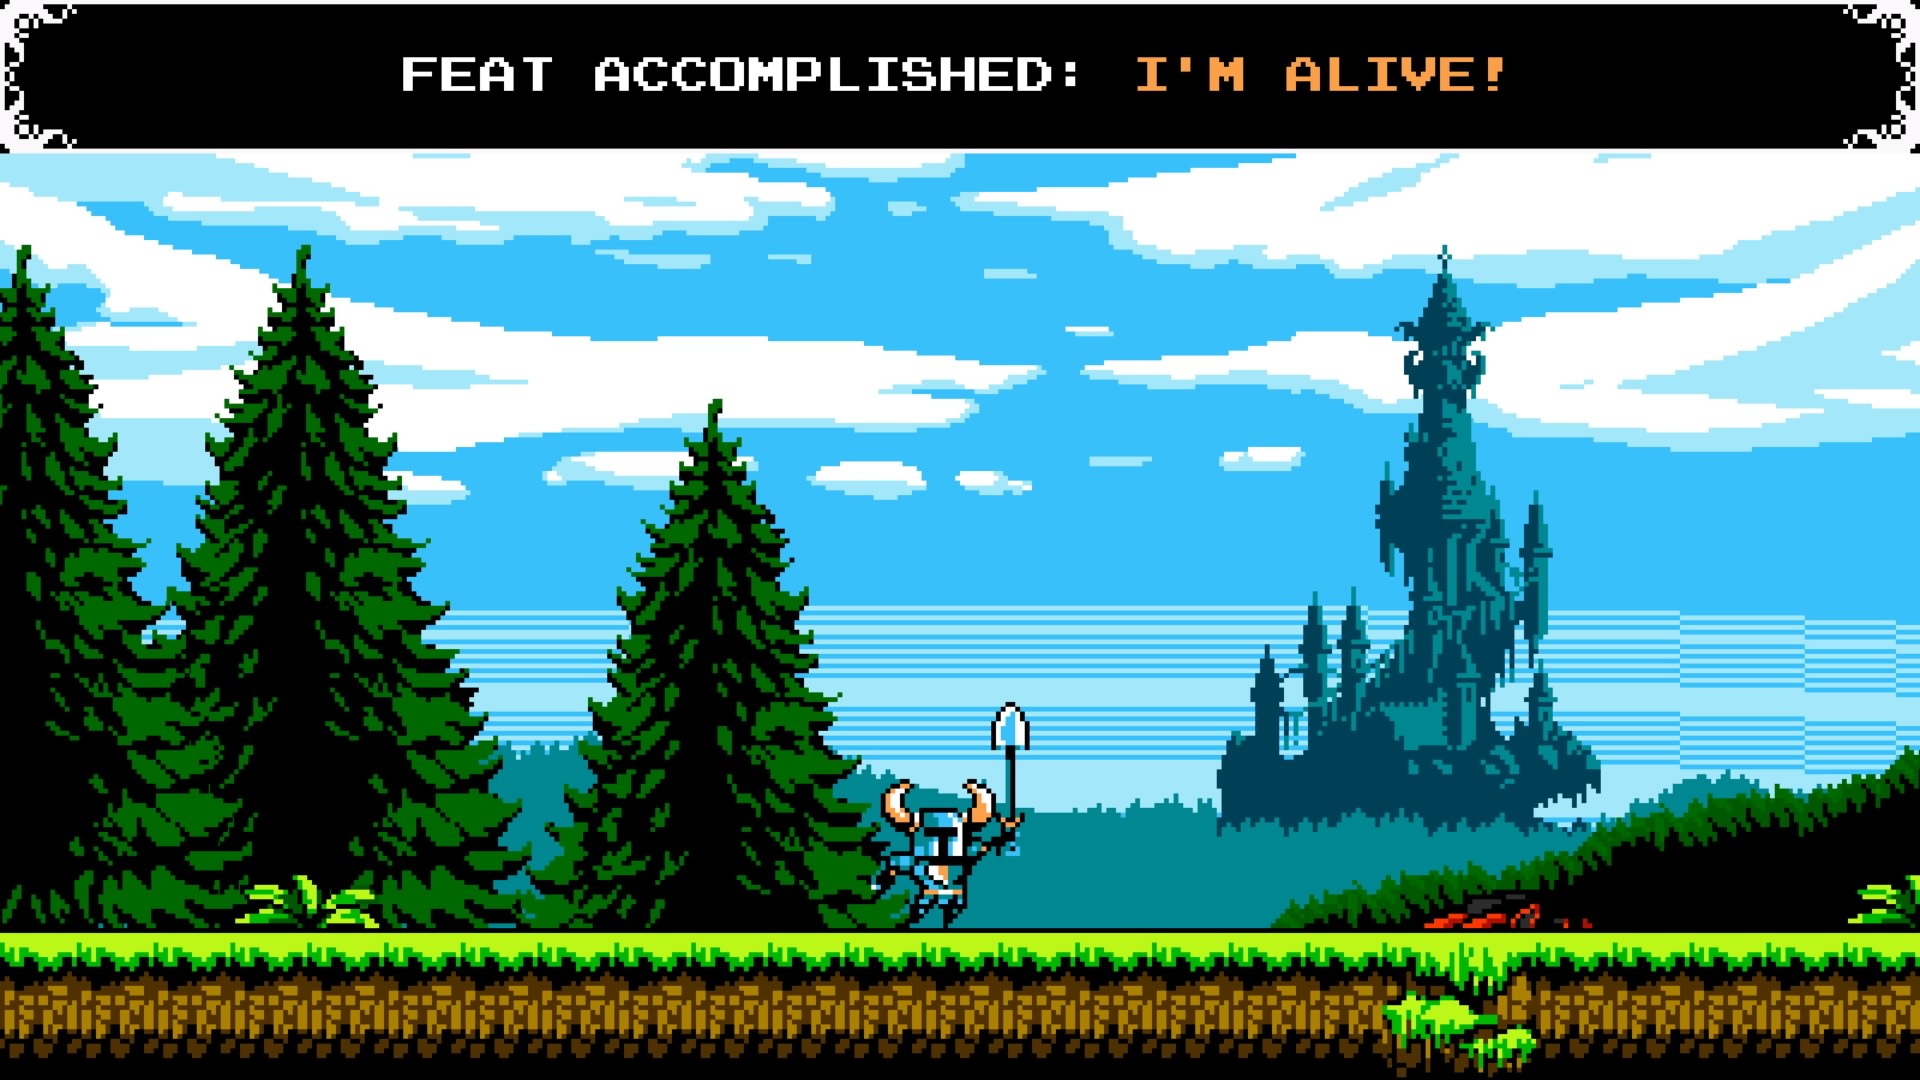 Shovel Knight (Yacht Club Games) (screenshot by TW0)
For a true pixel-perfect game, where every element aligns with a fixed grid, the whole team must commit to a resolution such as 480x270. Games such as Shovel Knight and Sonic Mania have gone to great lengths to create authentic retro pixel art.
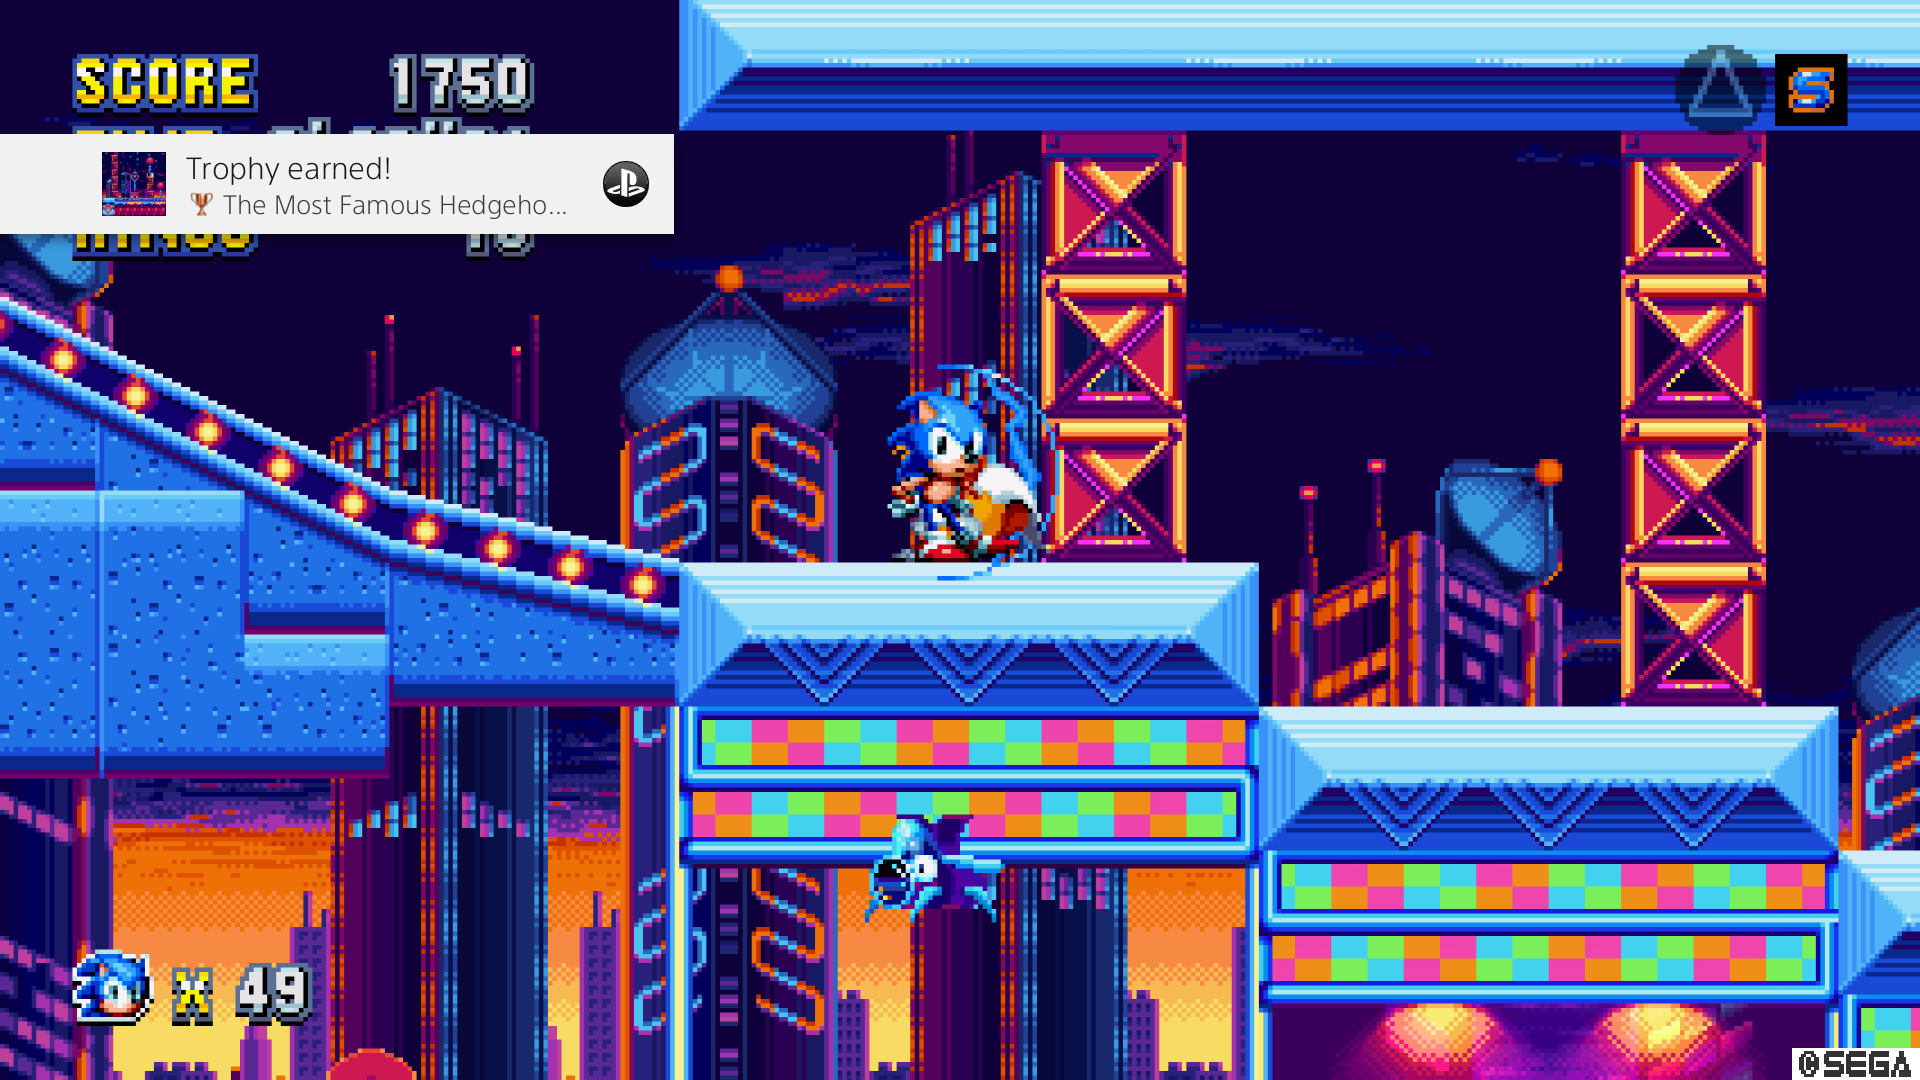 Sonic Mania (SEGA) (screenshot by TW0)
A New Perspective
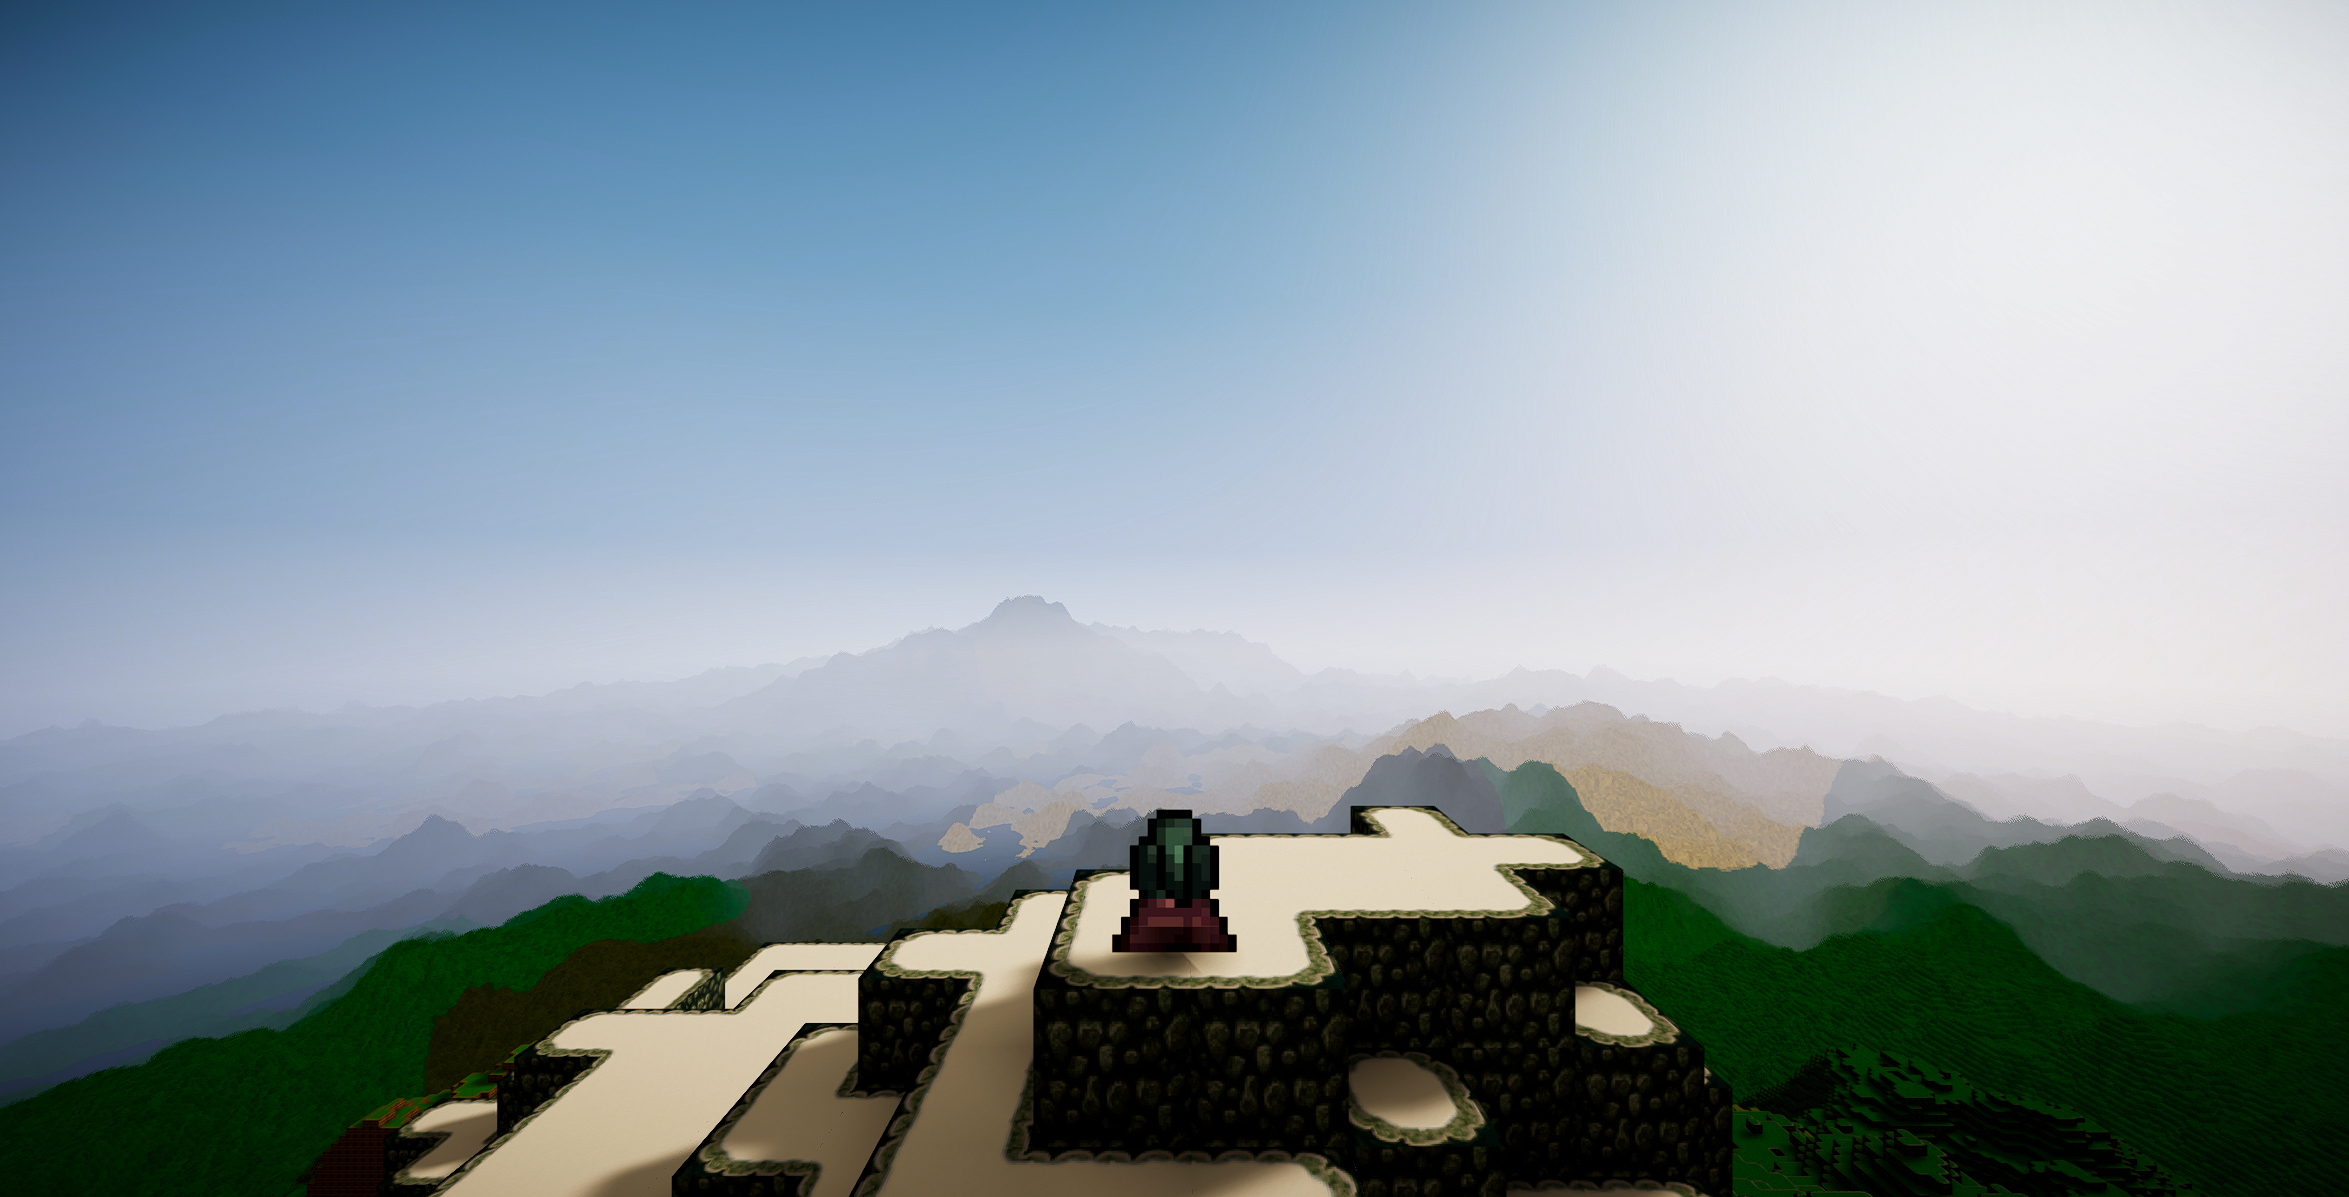 Spiral Fantasy - Perspective Projection (TW0CATS GAMES LTD) (screenshot by TW0)
In a 3D game, the only way to maintain a pixel-perfect art style is to use orthographic projection. This is where objects are drawn at the same size no matter what distance they are from the camera. Using this type of camera not only makes it impossible to display the terrain from anything other than a top-down or isometric perspective, it also prevents the use of visual effects that rely on the depth buffer.
.png) Spiral Fantasy - Orthographic Projection (TW0CATS GAMES LTD) (screenshot by TW0)
Spiral Fantasy - Orthographic Projection (TW0CATS GAMES LTD) (screenshot by TW0)
Although Spiral Fantasy uses perspective projection, the pixel art is kept unfiltered where possible to prevent the details from being smoothed out when scaled. You have the option to render the game with no anti-aliasing and at a lower resolution, without affecting the clarity of the text and UI, to replicate how the game could have looked if it had been released in the 90’s. However, this makes the textures difficult to appreciate unless they are very close to the camera. I would suggest rendering the game in the highest resolution your device can support because to me it’s more important to be able to see the pixels in the textures than the pixels of the display.
.png) Spiral Fantasy - Top-Down Orthographic Projection (TW0CATS GAMES LTD) (screenshot by TW0)
Spiral Fantasy - Top-Down Orthographic Projection (TW0CATS GAMES LTD) (screenshot by TW0)
Orthographic projection is effective for a top-down or isometric perspective, so I would like to include the option to play with these viewpoints. I have also written a tool to allow me to convert sprite sheets created for 48x48 pixel tiles to 64x64, because this works better with texture arrays. It copies the appropriate edge and centre tiles instead of upscaling them, so the pixel art remains sharp.
.png) Spiral Fantasy - Isometric Orthographic Projection (TW0CATS GAMES LTD) (screenshot by TW0)
Spiral Fantasy - Isometric Orthographic Projection (TW0CATS GAMES LTD) (screenshot by TW0)
Perfecting the Shadows
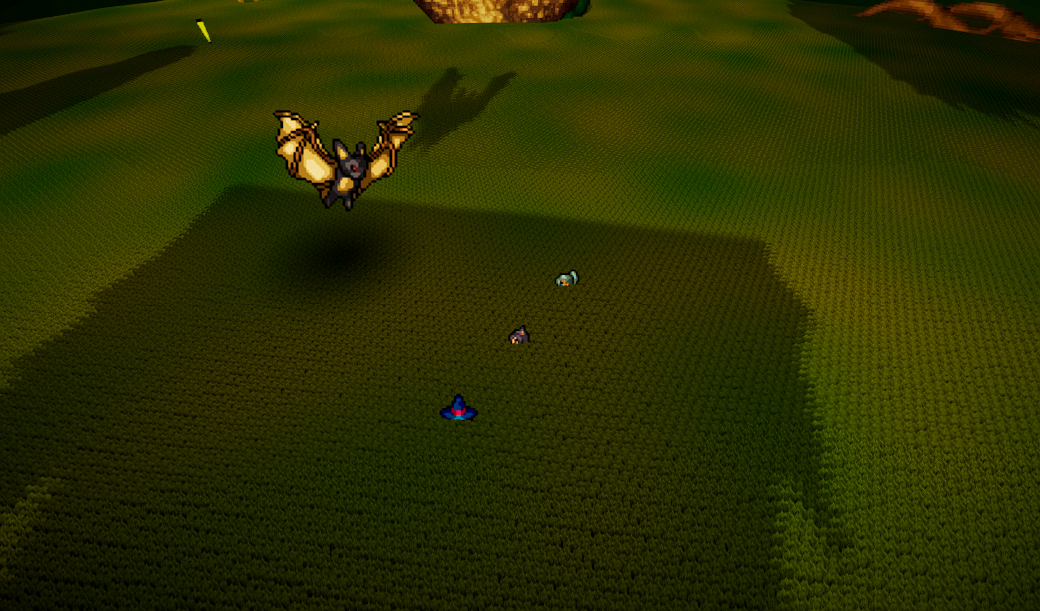
Shadows are an effect I wanted to get right because they make your character feel like part of the world. They also improve the illusion that the character exists in 3D. You can also see from the character’s ponytail in the isometric screenshot that the shadow is not just a copy of the sprite on screen, it’s using a different sprite based on the perspective of the shadow caster. Unlike pre-rendered sprites, pixel art is not trying to convince you that you’re looking at an actual 3D object. However, we are extremely good at recognising 3D shapes, even without stereo vision and in abstract art styles, so the character needs to look correct from all angles for the illusion to work.
My early experiments used a sprite renderer for the character, but without them receiving the warm glow of the sun or casting long shadow at sunset, they never felt convincing. The Billboard Renderer supported all of the lighting features I wanted, but the shadows had the same issue as the billboard itself when looked at from above. Seeing the character cast a thin line for the shadow broke the illusion and revealed the character to be paper-thin. This style has been embraced in games such as Paper Mario and Parappa the Rapper, but it was not the art style I was going for.
There is another way to render shadows that avoids this issue. Capsule shadows, also known as decal shadows or blob shadows, are essentially a cuboid that extends from your character’s feet into the ground, and anything it intersects with has the shadow drawn on to it. These are rendered entirely separately from the standard shadow map, so they are great for games that target lower-end hardware and cannot render the scene a second time for the shadow pass. However, they do not cast a shadow matching the silhouette of the object, as the shape of the shadow is based on the texture you provide. Typically a dark circle that fades out at the edges is used as the texture because a simple round shadow is better than none. They have been used in games such as The Last of Us to create convincing indirect shadows. By using capsule shadows for each of the characters’ limbs, they appeared to cast a faint shadow even in dimly lit indoor environments. While I could have updated the capsule shadow’s texture to use the character’s sprite, it was better used in addition to the real shadow, always casting directly below your character so you can easily tell where they will land.
.png)
Most of the work needed to fix the shadow perspective issue was done in the last article, although there are still a few changes that need to be made. To prevent the billboard from casting shadows onto itself, there is a variable to disable this that is normally hidden in the inspector. Clicking the three dots in the top-right corner of the Inspector will allow you to switch from Normal to Debug mode, which will reveal all of the Components’ variables and allow you to change the ones set as public or with [SerializeField] before them. The Debug Inspector will reveal the option to disable Receive Shadows. This is not an ideal solution because it also prevents shadows from other sources like the terrain, but more recent versions of Unity with the Rendering Layers feature may offer a workaround.
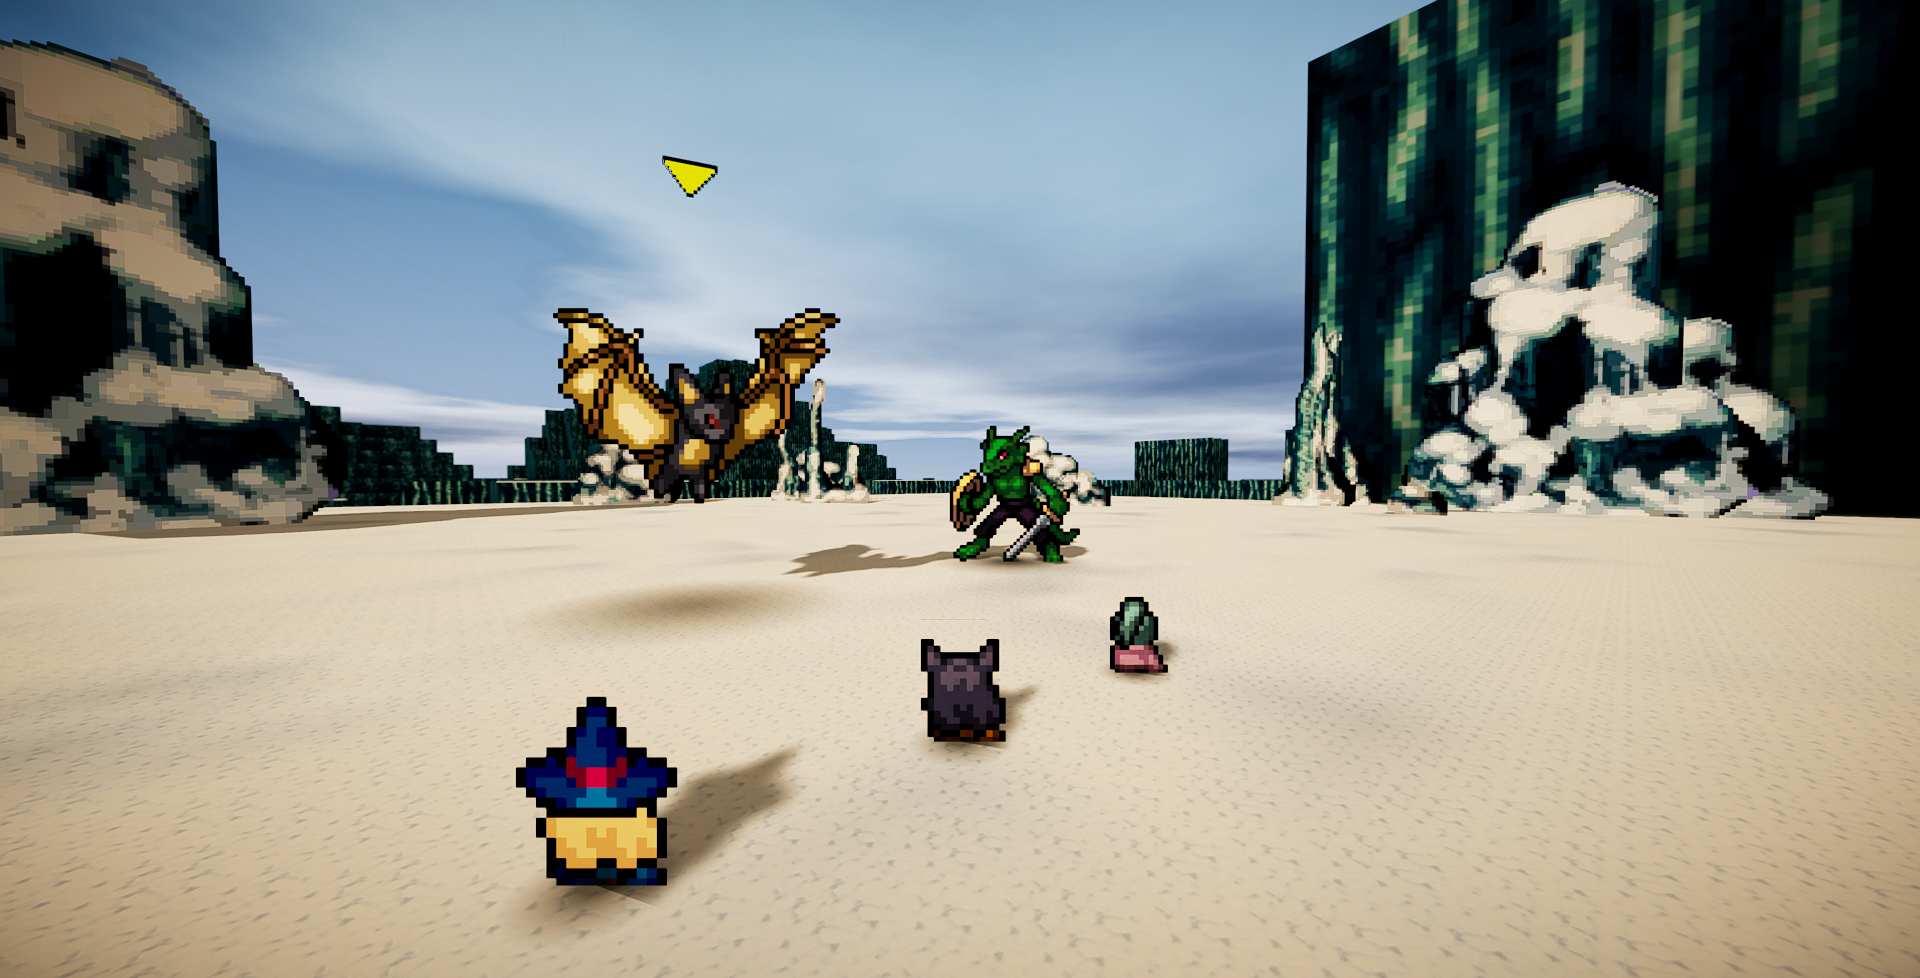
In battle, I also use billboards for the objects scattered around the terrain. These use a separate billboard shader from the characters, because I don’t want them to pivot up or down to face the camera. This effect works best when the camera is above the billboard, but when it is below and looking up at it, the billboard appears to be leaning over you. While I could just use the original unaltered billboard shader, there are two main issues with the shadows. The first occurs when using BILLBOARD_FACE_CAMERA_POS. While this improves the appearance of the billboards when rotating the camera, it also affects their shadows and can cause them to become extremely narrow at certain angles. The other is that the top of the billboard’s shadow can be clipped by the camera capturing the depth buffer.
To remedy this, create another copy of the billboard shaders and name them BillboardTerrain.
In BillboardTerrainPasses.hlsl, in InitializeData(),
Replace the line:
#if BILLBOARD_FACE_CAMERA_POS
with:
#ifdef SHADOW_CASTER
    float3 billboardTangent = unity_BillboardTangent;
    float3 billboardNormal = unity_BillboardNormal;
    float angle = unity_BillboardCameraXZAngle;
#elif BILLBOARD_FACE_CAMERA_POS
This will disable the perspective calculation normally performed when enabling BILLBOARD_FACE_CAMERA_POS but only during the shadow pass.
To fix the shadow clipping, find the Directional Light in your scene. URP only supports one Directional Light shadow caster so this should only need to be done on one camera. Find the Near Plane setting and increase it from its default value of 0.2 until even the tallest billboard is casting its full shadow. A value of 3 should be fine but raising it too high can result in some objects not casting a shadow at all.