
Solo developer of Spiral Fantasy
Perfecting Unity’s Billboard Shader for 2D Characters – Part 3
Written by Thomas David Walker (TW0)
What makes a Turn-based RPG feel good to play?
You might assume that how your character feels to control wouldn’t matter in a turn-based RPG, at least as much as it would in a fast-paced action game. However, the responsiveness and feedback of everything you interact with in a game, from the character’s movement, their animations and even menu navigation, can make the difference between a game you play once and one you keep coming back to.
 Final Fantasy X (Squaresoft) (screenshot by TheElegantMrThay)
One of the advantages of a turn-based game is that the pace can be entirely in the player’s control. You have all the time you need to look through your abilities, move the camera around to observe your surroundings, or plan several moves ahead. Ideally, the game lets you enter your decisions as fast as you can make them, and only presents information for as long as you need to understand it. Many games that attempt to be a hybrid between turn-based and action struggle to encourage players to use most of the tools they have available, since the inconvenience of digging through a menu mid-combat can be more risky than focusing on the battle.
However, many older RPGs cannot keep up with the speed of the player’s decision making, where even explaining what you just did appears to be turn-based. Often when these games are ported to modern platforms they are given a fast-forward button to reduce the amount of waiting. Earlier games in the Final Fantasy and Dragon Quest series required the player to select the actions for all of their characters at the start of each round. Once battle animations became longer and multi-target weapons were introduced, this led to a lot of downtime of just watching the battle play out. Starting with Final Fantasy IV and Dragon Quest XI, characters perform the action as soon as they are chosen, so players didn’t have to wait as long to be given back control.
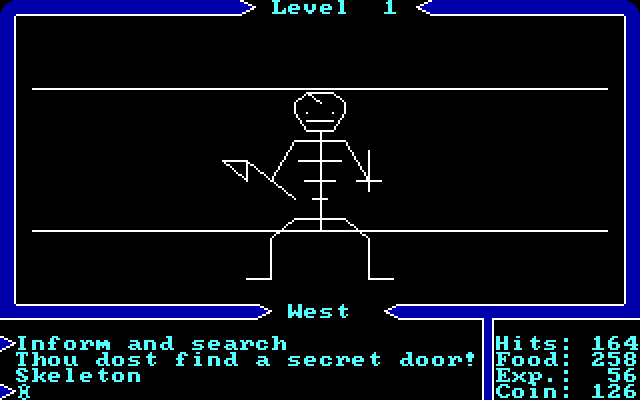 Ultima (Origin Systems) (screenshot by ManxomeBromide)
Feedback is just as important as control because it’s both informative and rewarding. Without the sounds, animations, or particle effects, battles might no longer feel exciting as there’s little to engage with apart from the underlying mathematics of numbers going up or down. This may be why the earliest RPGs used strict punishments for failure as a way to keep battles interesting as they had few other options to give feedback to the player. Apart from your own attacks, defeating an enemy is one of the most important actions the game needs to reward the player for, so it has to be satisfying to watch every time.
Finishing the Fight
The animations for defeating enemies in the early Final Fantasy games clearly had a lot of attention paid to them. Unlike Phantasy Star and Chrono Trigger, Final Fantasy’s monsters focused on size and detail over animation. Bosses would struggle to fit on the screen due to the uncompromising level of detail needed to capture Amano and Nomura’s artwork at such a low resolution. However, when placed next to the player characters, which have expressive animations for moving, attacking, casting spells and suffering from status effects, their limitations became apparent. The designers had to come up with ways to show the player what the enemies were doing, such as flashing their outline when they are attacking or using text boxes to display a countdown for an attack the enemy is preparing.
Final Fantasy VI Pixel Remaster (Square Enix) (video by beardata07)
From the very beginning, the effect used when defeating the enemy was a dissolve, where pixels are erased from the enemy sprite until they are completely gone. This effect was enhanced with the capabilities of the SNES to add alpha transparency, colour filters, and even the ability to move the enemy sprite downwards. On the NES, the enemies were drawn as background tiles so they were limited in how they could be moved or how their palette could be changed.
Final Fantasy VI (Squaresoft) (video by strangepictures)
Getting Started
Although these effects can now all be done in a shader, the Billboard Renderer does not use the same interface as most other Renderers so it requires a different approach. Changing the colour is still done by setting the _Color property on the billboard’s material, but the Billboard Renderer’s material is empty, even when it’s been set up correctly. This is because the material property is just inherited from the base Renderer component and is not used for the billboard. Instead, the material is part of the Billboard Asset assigned to the renderer.
Normally when modifying a material, you can use renderer.sharedMaterial to access the original material, where any changes you make are permanent and visible on every renderer using the material, or renderer.material to get a local copy of the material so that any changes only apply to that specific renderer. The material obtained from renderer.material must be destroyed along with the GameObject or Renderer component using it because Unity does not automatically perform garbage collection on classes inheriting from UnityEngine.Object, such as Materials and Textures.
However, when you use billboard.material it actually behaves like renderer.sharedMaterial. You are accessing the material of the Billboard Asset and not the Billboard Renderer, which does not automatically give you a copy. This can be solved by creating a copy of the Billboard Asset when instantiating a new character and assigning that to the Billboard Renderer.
private Material billboardMaterial;

void Start()
{
    if (!TryGetComponent(out BillboardRenderer billboardRenderer))
    {
        Destroy(this);
        return;
    }

    CloneBillboardAsset(ref billboardRenderer);
    BillboardAsset billboard = billboardRenderer.billboard;
    billboardMaterial = billboard.material;
}

void CloneBillboardAsset(ref BillboardRenderer billboardRenderer)
{
    // Create new BillboardAsset with its own material
    BillboardAsset originalBillboardAsset = billboardRenderer.billboard;

    BillboardAsset billboardAsset = new BillboardAsset
    {
        name = originalBillboardAsset.name,
        width = originalBillboardAsset.width,
        height = originalBillboardAsset.height,
        bottom = originalBillboardAsset.bottom,
        material = new Material(originalBillboardAsset.material)
    };
    billboardAsset.SetImageTexCoords(originalBillboardAsset.GetImageTexCoords());
    billboardAsset.SetIndices(originalBillboardAsset.GetIndices());
    billboardAsset.SetVertices(originalBillboardAsset.GetVertices());

    billboardRenderer.billboard = billboardAsset;
}
The OnDestroy() function can be used to destroy objects that are derived from UnityEngine.Object and created at runtime.
private void OnDestroy()
{
    if (billboardMaterial != null)
    {
        DestroyImmediate(billboardMaterial);
        billboardMaterial = null;
    }
}
This gives us a material that is unique to this GameObject and can be safely modified.
billboardMaterial.color = new Color(1, 1, 1, 0.5f);
Dissolving a Billboard
However, you might notice that changing the alpha transparency doesn’t smoothly fade out the billboard like you would expect. The billboard is opaque unless the transparency is below the cutoff value set in the shader, where it becomes completely invisible. This is because the billboard uses the shader tag "RenderType" = "TransparentCutout" instead of
"RenderType" = "Transparent". TransparentCutout behaves very similarly to Opaque although it defaults to the AlphaTest value of 2450 in the rendering queue instead Geometry value of 2000.
Opaque objects are typically faster to render and avoid a lot of issues with sorting multiple overlapping transparent objects, so using transparent billboards should be avoided unless absolutely necessary. It may be possible to have transparent billboards, but this will also require removing Line 25 from BillboardInput.hlsl:
#define _Surface 0.0 // Billboards are always opaque
Opaque rendering does still support a limited type of transparency called cutout, where pixels are fully visible by default or invisible if their alpha value is below the threshold. The alpha value typically comes from the texture, but this will be multiplied by the alpha channel of the material. The default cut-off value is 0.333, so if a texture’s pixel has an alpha of 0.5 and the material’s _Color property also has an alpha of 0.5, the combined alpha value of 0.25 is below the threshold of 0.333 the pixel would be invisible.
Spiral Fantasy (TW0CATS GAMES LTD)
Fortunately, there’s another method of creating a fade out effect that works with opaque billboards and also resembles the defeated enemy effect from Final Fantasy. LOD Dithering was designed to be used with the LOD Group component to reduce the visibility of pop-in when a model transitions to a higher or lower quality model or to a billboard imposter. By setting the highest and lowest LODs to use no renderer, this will fade out the billboard if they are too close or too far from the camera.
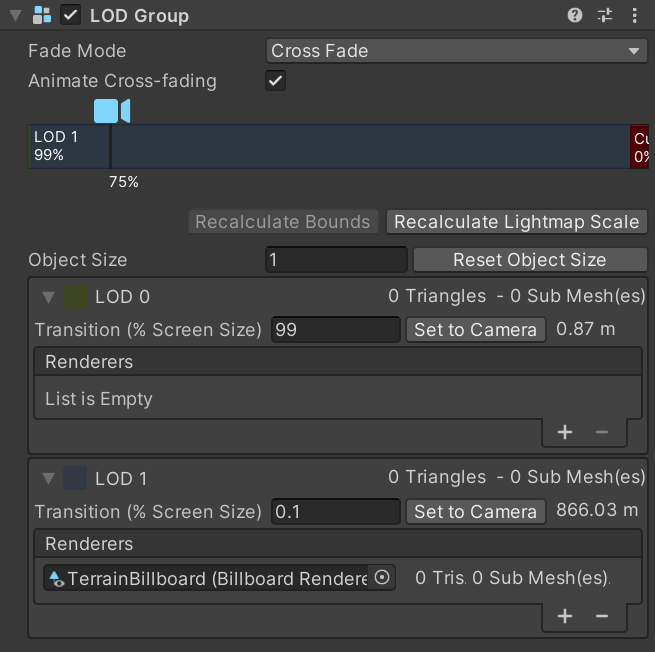
The only way to control the dithering effect is to position the camera at the correct distance from the billboard to initiate the transition. This is defined by the Object Size value and the percentage it covers the vertical screen resolution. This works alright for fading out objects that are far from the camera, but it doesn’t work well for objects that are too close. It doesn’t check for horizontal screen coverage so a billboard can be almost completely obscuring the camera and still not be culled, and very tall billboards may be culled even if they are still far away. The LOD Group component is still needed for the dithering effect to work, but we can use our own function to have complete control of the fading.
In CommonPasses.hlsl, add the following function before the BillboardFrag() function:
#if defined(LOD_FADE_CROSSFADE)
void LODDitheringTransitionCustom(float2 fadeMaskSeed, float ditherFactor)
{
    // Generate a spatially varying pattern.
    // Unfortunately, varying the pattern with time confuses the TAA, increasing the amount of noise.
    half2 uv = fadeMaskSeed * _DitheringTextureInvSize;
    half p = SAMPLE_TEXTURE2D(_DitheringTexture, sampler_PointRepeat, uv).a;

    // This preserves the symmetry s.t. if LOD 0 has f = x, LOD 1 has f = -x.
    half f = ditherFactor - CopySign(p, ditherFactor);
    clip(f);
}
#endif
Then, replace each instance of
LODFadeCrossFade(input.clipPos);
with
LODDitheringTransitionCustom(input.clipPos.xy, _Color.a);
This is a modified version of the LODFadeCrossFade() function found in “Packages/com.unity.render-pipelines.universal/ShaderLibrary/LODCrossFade.hlsl”. It allows us to control the dither strength of the billboard renderer by changing the alpha channel of the material. When _Color.a is 1.0f, the billboard will appear as normal. If you use the Update() function or a Coroutine to slowly reduce the value from 1.0f to 0.0f, then the billboard will appear to dissolve as random pixels are removed. By changing the RGB values of the colour as well, we can make the enemies fade to purple upon defeat like in Final Fantasy.
It’s also possible to create an effect like the semi-transparent enemies from DOOM by setting the colour to black and the alpha channel to 0.5f.
billboardMaterial.color = new Color(0, 0, 0, 0.5f);
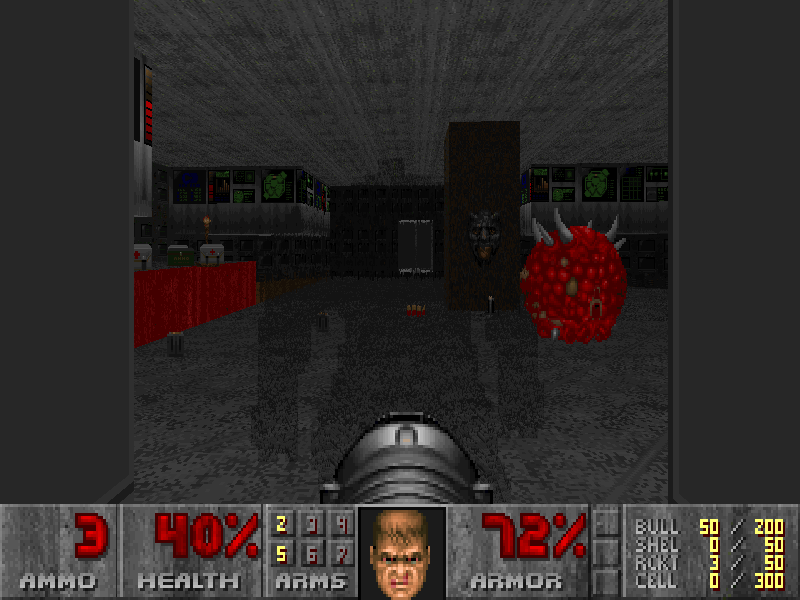 DOOM (id Software) (screenshot by Cyb)
In the next article I will explain how to improve the billboard effect on the grass in Unity’s Terrain system and add support for point filtering on the grass textures.
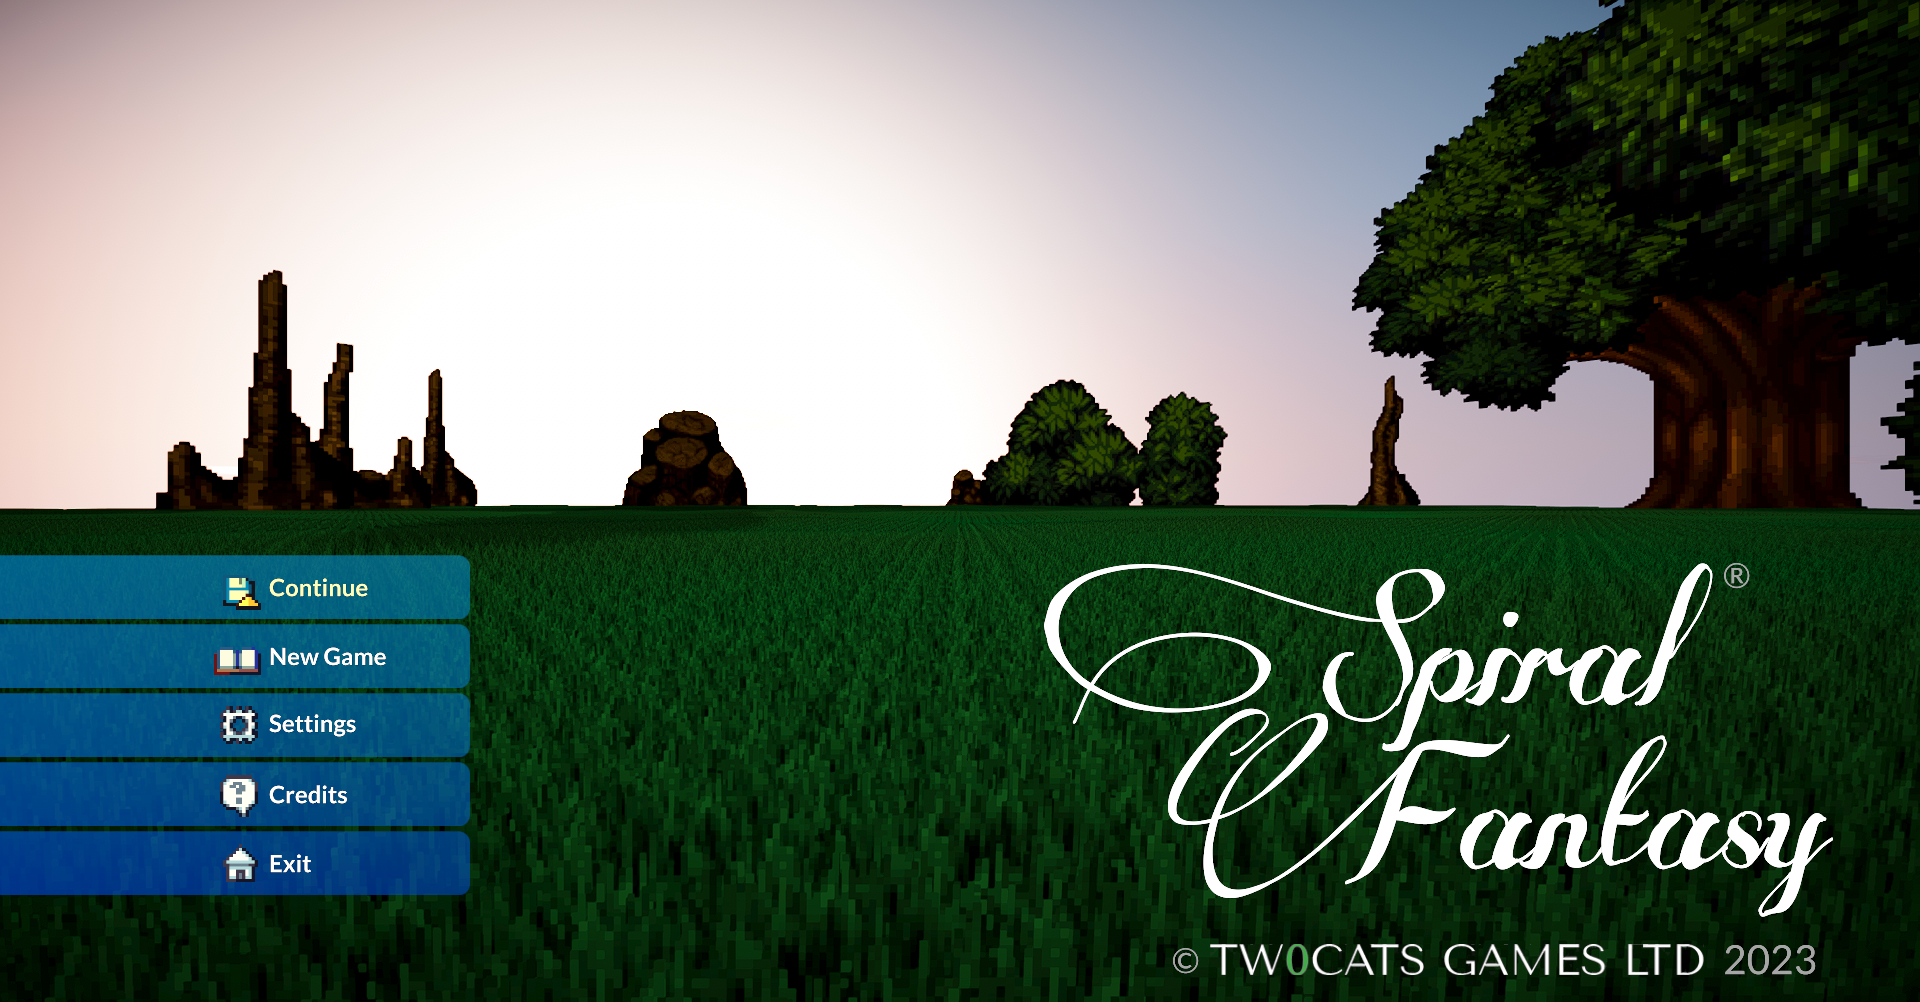 Spiral Fantasy - Start Menu (TW0CATS GAMES LTD) (screenshot by TW0)